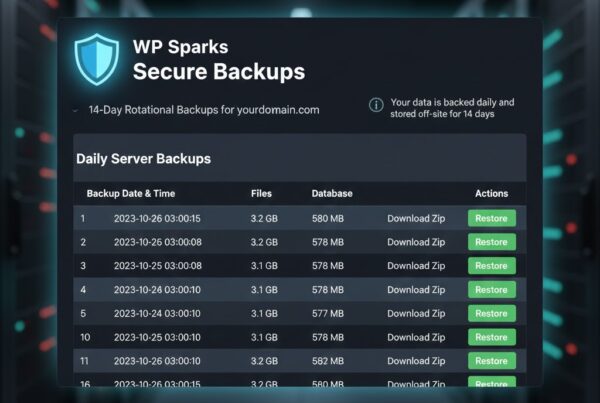
This guide will walk you through the steps to remove existing backup files created by the All-in-One WP Migration plugin, and then safely disable and remove the plugin, freeing up significant disk space on your hosting account.
Step 1: Locate and Delete Existing Backups
The first step is to remove the large backup files the plugin has already created.
-
Log in to your WordPress Dashboard.
-
In the left-hand navigation menu, click on All-in-One WP Migration.
-
Click on Backups.
– You will see a list of all your created backup files (these are typically .wpress files). -
For each backup file listed:
– Click on the three dots or the Delete icon (usually a trash can) next to the file.
– Confirm the action to permanently delete the backup file from your server.
Why this is important: These files are often massive (the size of your entire website!) and are the primary reason your storage usage is high. Deleting them now is crucial for freeing up space.
Step 2: Deactivate the Plugin
Now that you’ve cleaned up the files, you need to turn the plugin off so it doesn’t create new backups.
-
Go to Plugins in your WordPress Dashboard menu.
-
Select Installed Plugins.
-
Scroll down to the All-in-One WP Migration plugin.
-
Click the Deactivate link underneath the plugin name.
Step 3: Delete the Plugin Completely
If you aren’t using the plugin for migrations and will rely on WP Sparks for backups, the best practice is to remove it entirely. This is a simple two-step process:
-
On the Installed Plugins screen, the plugin will now have an Activate and Delete link.
-
Click the Delete link.
-
Confirm you want to delete the plugin.


